


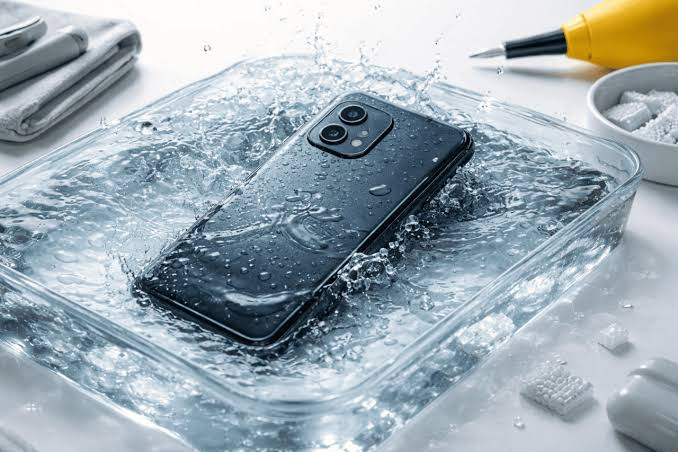
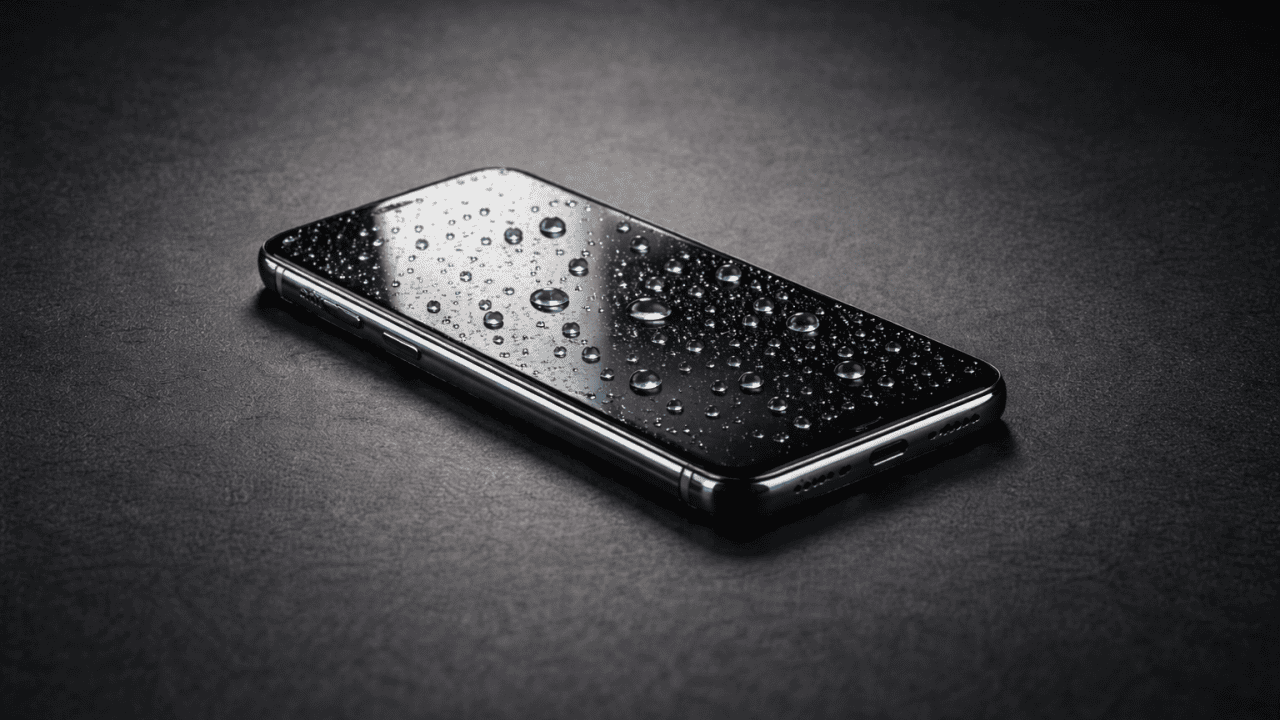
Wet phone repair actions must be taken immediately if you accidentally drop your device into a sink pool or ocean. The very first second your phone touches liquid the countdown starts before short circuits destroy the delicate internal motherboards. Most people panic when this happens and start pressing buttons or shaking the device which actually makes things much worse inside.
Read Also: iPhone Duo vs Galaxy Z Fold 8: Which Wins?
Why wet phone repair steps must be done quickly
Knowing proper wet phone repair techniques allows you to act fast and minimize internal corrosion before severe water damage sets in. Following a few simple emergency rules can easily mean the difference between keeping your device working or throwing it in the trash.
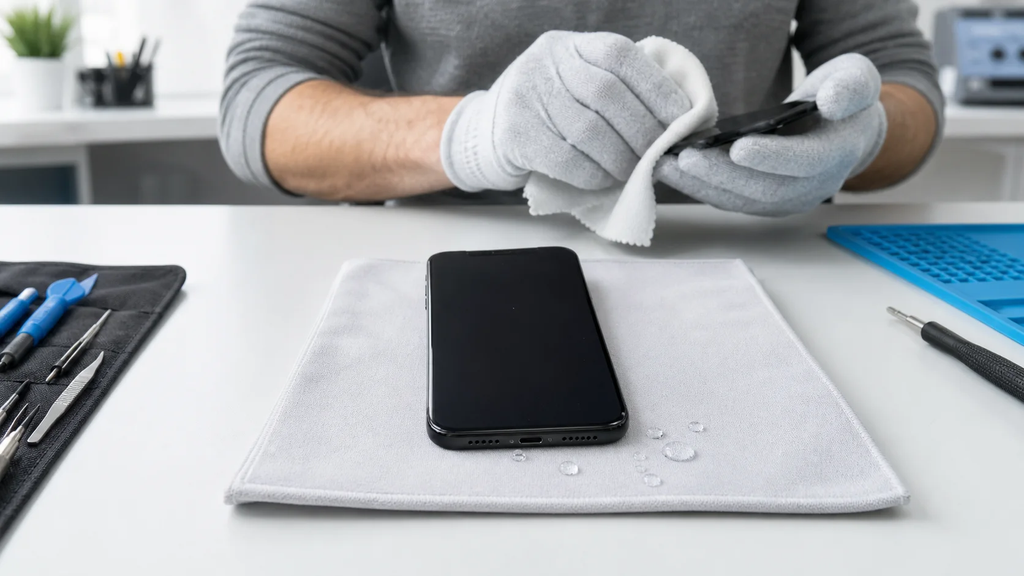
Taking the right action within the first few minutes determines if your device can be saved. Proper wet phone repair starts by pulling the device out of the liquid immediately and turning off the power right away. Turning off the power stops electric currents from running through wet circuit boards which prevents dangerous short circuits from blowing up internal chips.
When wet phone repair principles are applied correctly you give the internal parts a real chance to dry safely without burning out essential electronics.
Read Also: Is AI Getting Out Of Control?
Wet Phone Repair: 6 Key Steps After Liquid Damage
- Turn off the power immediately and do not attempt to turn it back on
- Remove the phone case SIM card tray and memory cards right away
- Dry the outside thoroughly using a clean microfiber cloth or towel
- Never blow hot air from a hair dryer into the speaker grills or ports
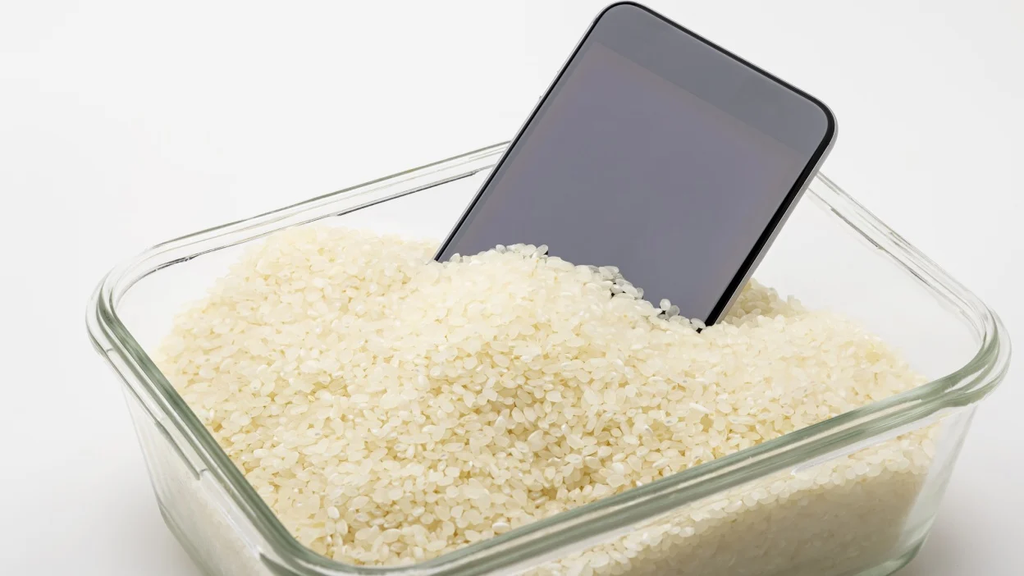
- Avoid raw rice packets and use silica gel packets for absorbing moisture
- Let the device dry completely for at least forty eight full hours
Wet Phone Repair: Removing accessories and drying the exterior
Once the device is completely powered down you should quickly strip away all protective covers and removable components. Part of effective wet phone repair includes taking out the SIM tray and memory card so trapped moisture can escape through the open slots. Use a dry cloth to gently wipe down the entire outer body display screen and charging port. Do not insert cotton swabs or paper towels inside the charging port because loose fibers can get stuck and trap liquid deep inside the device.
Common mistakes that destroy soaked phones
Many people make critical mistakes when trying to dry out their electronics at home after an accident. Attempting wet phone repair by putting the device into a bowl of dry rice often introduces dust and tiny starch particles into the phone charging port. Similarly blowing hot air with a hair dryer can melt delicate internal plastic seals and push liquid deeper into hidden spaces. Patience is the most crucial part of wet phone repair because trying to turn on a damp phone too early will fry the electrical circuits instantly.
Read Also: Is upgrading to the Apple flagship phone worth your money?
Final drying steps and testing the device
After removing surface moisture place the device in an airtight container filled with silica gel packets or leave it in a well ventilated room with cold airflow.
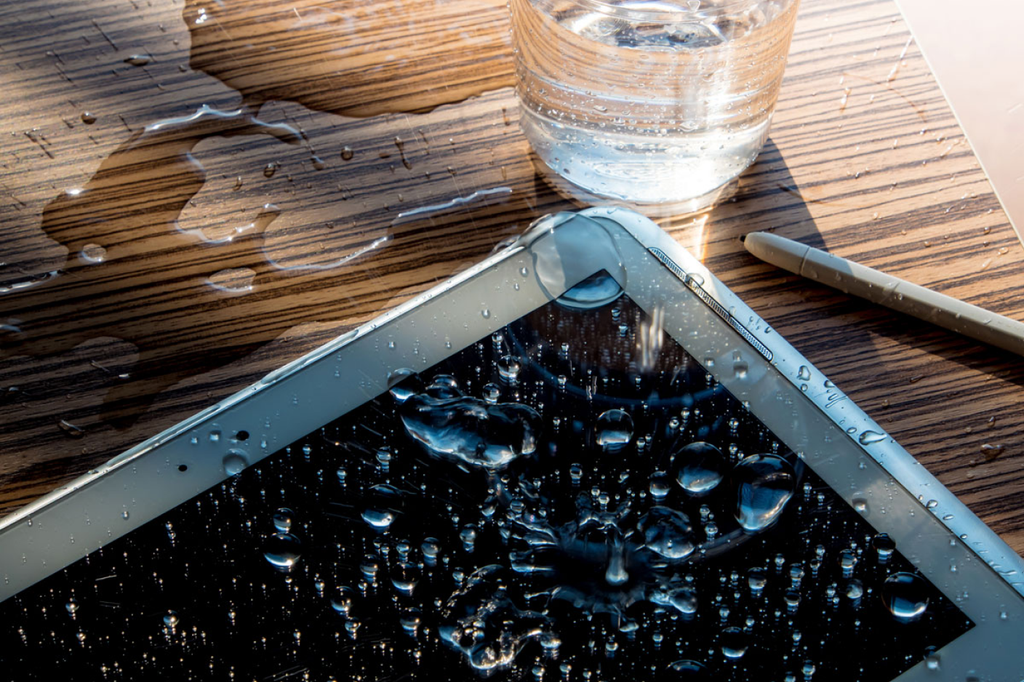
Leaving the device undisturbed for two full days allows internal moisture to evaporate naturally without causing heat damage. Following these emergency wet phone repair steps gives your phone the highest chance of surviving a sudden water accident.